
Pattern Bars
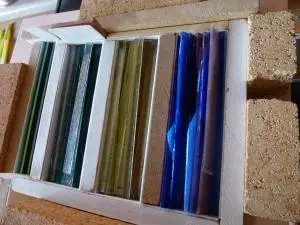
Figure 1…Glass strips in kiln ready to be fused
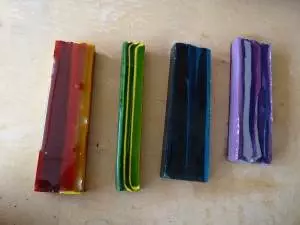
Figure 2…Resultant Pattern Bar loaves.
The first step is to create the “pattern bar”. This is done by creating a pattern bar loaf which is then cut into quarter inch slices (the “pattern bars”) using a diamond blade wet saw. The pattern bar loaf is made by cutting strips of glass in various colors of interest and melting (fusing) them together to create the solid glass loaf. Typically, the loaf is 9 inches by 4 inches and 1.5 to 2 inches thick. The glass strips are brought to 1500 degrees to totally melt them together. In order to maintain the desired thickness, the glass forming the loaf must be contained on the shelf. If it were not contained, it would spread out to its natural thickness of a quarter of an inch. Figures 1 and 2 show several pattern bar loaves before and after fusing. This process typically takes 36 hours from start of the firing to removal of the loaves from the kiln.

Figure 3…Loaf being cut into Pattern Bars
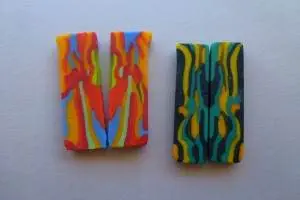
Figure 4….Two examples of Pattern Bars “book ended”
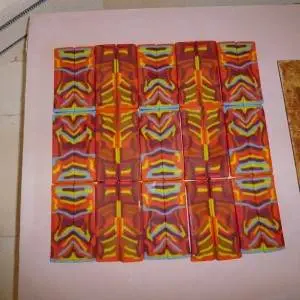
Figure 5…Pattern Bars arranged on kiln shelf.
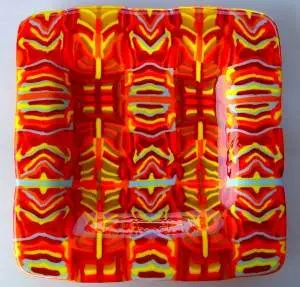
Figure 6…Fused and Slumped Pattern Bar pattern.